Intro
Regardless of whether you work in any IT related field or not, there is very little chance you haven’t heard about Artificial Intelligence (AI) in one way or another. If you are somehow involved in programming or mathematics, you could probably tell what the difference between AI, Machine Learning and Deep Learning is.
With AI having its ups and downs over the years in terms of the level of interest in it, we can say for sure “it is here” now. The purpose of this very article is a brief introduction to one of the AI tools that Microsoft Azure offers - The Anomaly Detector.
Anomaly
If you didn’t know what an anomaly is, well… that would be an anomaly. When it occurs, sometimes you can ignore it, sometimes you should and sometimes you shouldn’t. When it comes to doing business, there is very little you can or should ignore. I argue the Anomaly Detector may come in handy here.
Anomaly Detection & Detector
Anomaly detection is a process of identifying data points that deviate from the expected behavior or pattern. Anomaly Detector does just that. It is simply a set of APIs that allows you to monitor and detect anomalies in a time series data. It can work both with a one time-dependent variable (Univariate Anomaly Detection) and also with multiple variables (Multivariate Anomaly Detection) meaning it can potentially deal with complex scenarios/processes with different underlying correlations. The former comes with already pre-trained model, the latter has to be trained first before you use it but both of them use unsupervised learning techniques under the hood which means it learns the patterns and behaviors in the data kind of on its own.
When exactly would one use it?
Nowadays, a huge part of services uses cloud computing. Azure being one of them is not free. It costs money. Even if, let’s say, you have a company and you move all of the costs to the client you still want the client to be happy. The client won’t be happy if for some reason the “Azure costs” start growing unexpectedly for some reason, though. The Anomaly Detector can spot such anomalies and notify you that’s something not quite right. You get alerted, investigate, and keep the client happy. Side effect – you’re also happy (or at least happier).
Another real-world example: Imagine a system where critically important email notifications are sent to users. These notifications literally means money. Sometimes they meant 💸 – when they weren’t going out to the users for one reason or another (either bug in the code or a miss in the deployment process due to incomplete pre-configuration).
Given the many different types of email notifications being sent out, it would be easy to miss it if one particular type stopped being sent for some reason. Anomaly Detector can help in that scenario by automatically building a baseline of what is “normal” for each type of notification and alerting you when reality deviates too far.
How to use it
Given the fact that this article is not a “Nobel Prize one”, for the purpose of a more hands-on example univariate API has been used to keep things as simple as possible.
Firstly, there is the data preparation step. The Anomaly Detector API accepts time series data formatted into a JSON request object like this:
{
    "granularity": "secondly",
    "series": [
      {
        "timestamp": "2023-03-02T00:00:10Z",
        "value": 123
      },
      {
        "timestamp": "2023-03-02T00:00:11Z",
        "value": 456
      },
      {
        "timestamp": "2023-03-02T00:00:12Z",
        "value": 789
      },
    ]
}
The “granularity” is the rate of the data is sampled at (yearly, daily, secondly etc.). It can also be customized if needed in the following way:
{
    "granularity" : "secondly",
    "customInterval" : 2
}
The above means the data is sampled at every second… second.
The “series” array contains the actual data. There are some constraints – one can send from 12 up to 8640 data points at the moment, each “timestamp” has to be a valid UTC time and “value” has to be a number.
There are some best practices about what to do if some of the data is missing etc., but this article is not going to delve into that.
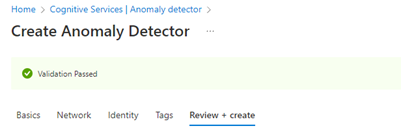
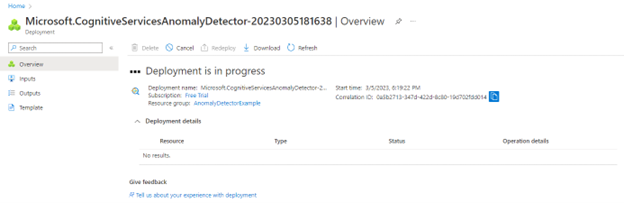
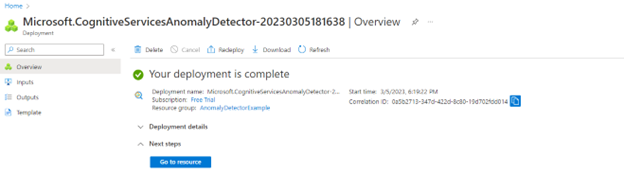
When the data is prepared then comes the time to finally use it. In order to do that you will have to create an Anomaly Detector resource in the Azure Portal.
For example, if you want to use C# to connect to it, there is the Microsoft.Azure.CognitiveServices.AnomalyDetector .NET NuGet package. To create a client one needs two values – the resource endpoint and the API key:
var client = new AnomalyDetectorClient(new ApiKeyServiceClientCredentials(anomalyDetectorApiKey))
{
    Endpoint = anomalyDetectorEndpoint
};
For the testing purposes, I have used free data of the temperature in Basel that’s available Meteoblue website.
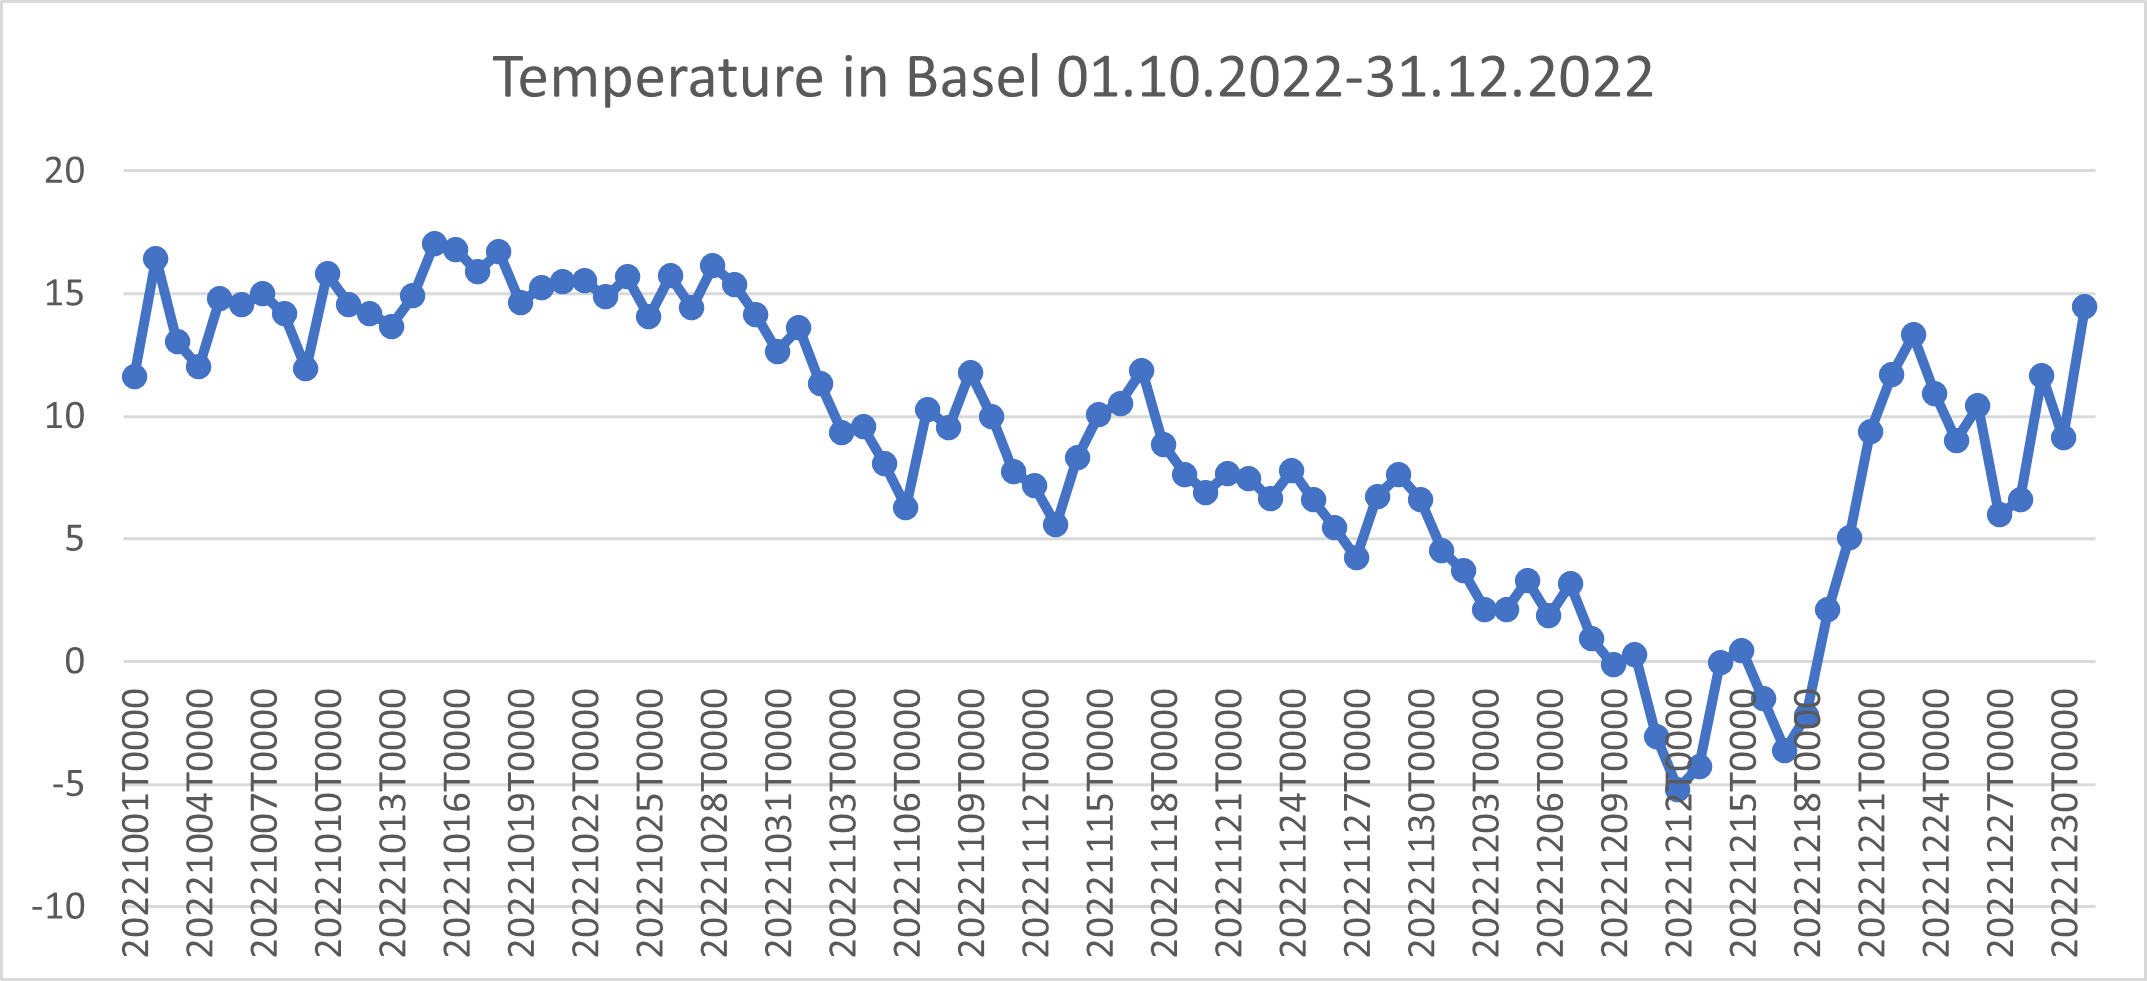
After I had prepared the data set I run the Anomaly Detector with a piece of code as simple as the one below:
static async Task Main(string[] args)
{
    var client = new AnomalyDetectorClient(new ApiKeyServiceClientCredentials(anomalyDetectorApiKey))
    {
        Endpoint = anomalyDetectorEndpoint
    };

    var data = GetSeriesFromFile(GetFullFilePath(filePath));

    var request = new Request(data, Granularity.Daily);

    await Run(client, request);

    Console.ReadKey();
}

static string GetFullFilePath(string filePath) => Environment.CurrentDirectory + filePath;

static List<Point> GetSeriesFromFile(string path)
{
    List<Point> list = File.ReadAllLines(path, Encoding.UTF8)
        .Where(e => e.Trim().Length != 0)
        .Select(e => e.Split(','))
        .Where(e => e.Length == 2)
        .Select(e =>
        {
            var dateTimeEntry = e[0];
            int year = int.Parse(dateTimeEntry.Substring(0, 4));
            int month = int.Parse(dateTimeEntry.Substring(4, 2));
            int day = int.Parse(dateTimeEntry.Substring(6, 2));
            var timestamp = new DateTime(year, month, day);
            return new Point(timestamp, Double.Parse(e[1]));
        }).ToList();

    return list;
}

static async Task Run(IAnomalyDetectorClient client, Request request)
{
    Console.WriteLine("Looking for anomalies...");

    EntireDetectResponse response = await client.EntireDetectAsync(request).ConfigureAwait(false);

    if (response.IsAnomaly.Contains(true))
    {
        for (int i = 0; i < request.Series.Count; ++i)
        {
            if (response.IsAnomaly[i])
            {
                Console.WriteLine($"\nAn anomaly at index: {i} with value {request.Series[i].Value}");
            }
        }
        Console.WriteLine();
    }
    else
    {
        Console.WriteLine("No anomalies have been found.");
    }
}
… and the result was as follows:
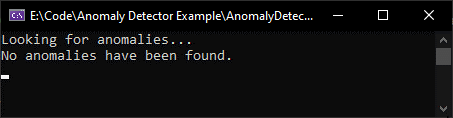
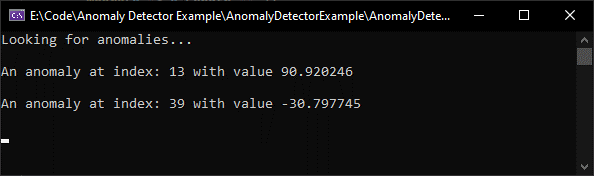
That’s what I was expecting. So to give it a test I have introduced two obvious anomalies by hand

After that, running the Anomaly Detector gave the expected result:
Summary
Of course, the above result may not seem very impressive at all but it’s just an example. Question of how well it behaves, how “sensitive” it is, how much one can actually rely on it is a completely different matter. The interesting and very important fact is that there is an AI tool (or should I rather have said “tools” to be precise) that you can use and benefit from it without knowing pretty much anything about AI and, most of the time, the very complicated math operations behind it.
Also, you might have noticed that in the provided example the actual API call sends the entirety of the data at once:
EntireDetectResponse response = await client.EntireDetectAsync(request).ConfigureAwait(false);
But what if you get some new data and you want to know if there’s anomaly in it? You can use the
LastDetectResponse response = await client.LastDetectAsync(request).ConfigureAwait(false);
to get the result - there is no need to combine the whole data and send it over again.
As you’ve already seen, only the Univariate Anomaly Detection has been presented here. The other one – Multivariate Anomaly Detection – is more complex and that’s where you can actually train a model and I believe it deserves its own blog post!
PS Just recently I was told that Microsoft is planning to retire the Anomaly Detector on the 1st October of 2026. Perhaps it will get replaced with a similar service. For the moment it’s there to be used in its current form for 3 more years!